


Follow us!
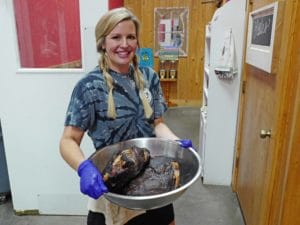
For updates on upcoming episodes, pictures of Misha being Misha and behind the scenes content follow us on social platforms and subcribe to our newsletter here.
@Roadfood

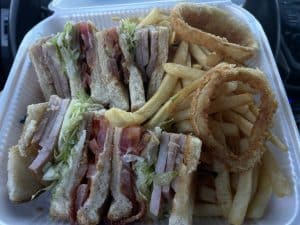
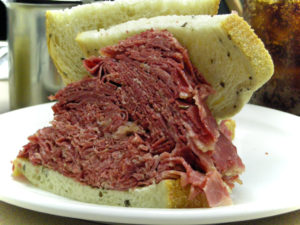
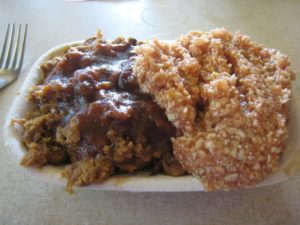
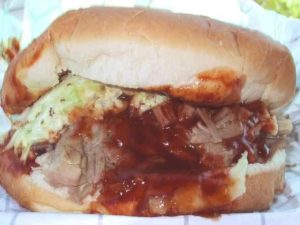
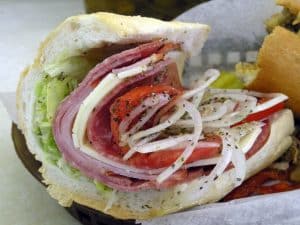
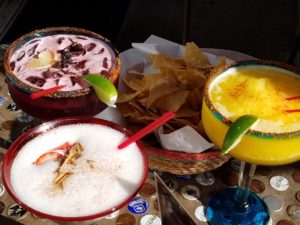
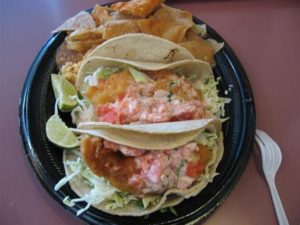
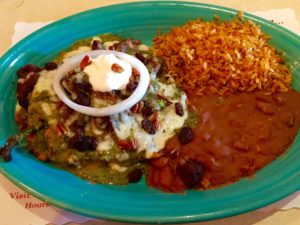
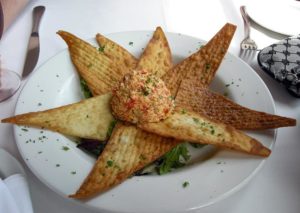
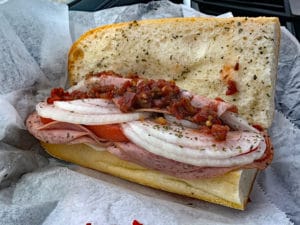
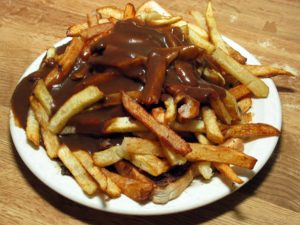
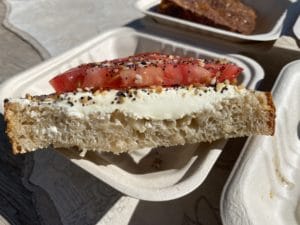
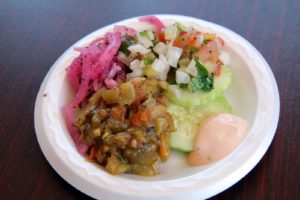
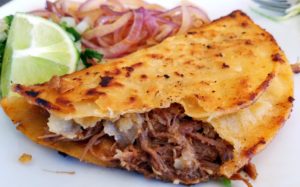
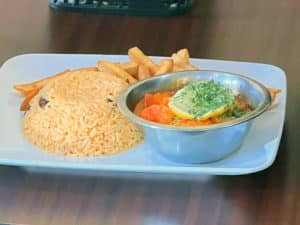
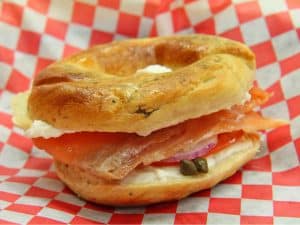
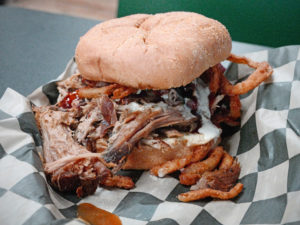
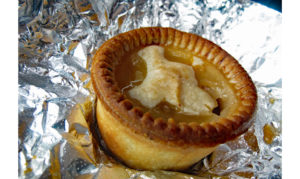
Your Guide to Local Affordable Eats
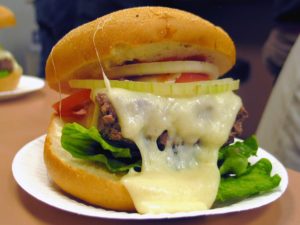
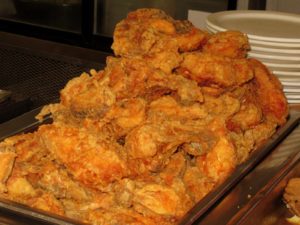
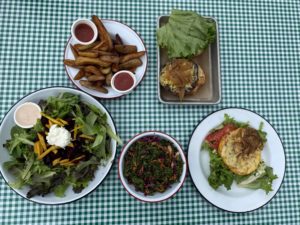
Some of the most popular food categories on our site!
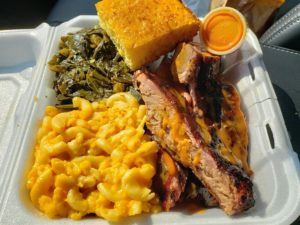
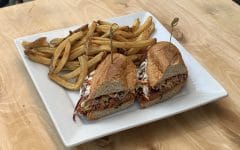
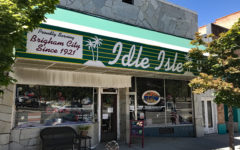
Our hand-picked favorite restaurants!
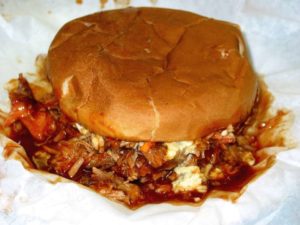
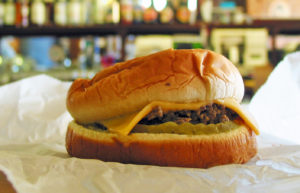
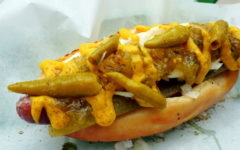
Try the recipes from restaurants we love!
Seattle has some of the best food in the country hands down Although there are some...
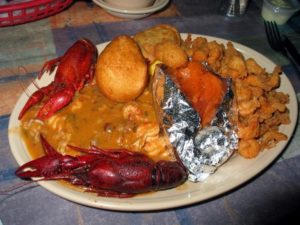
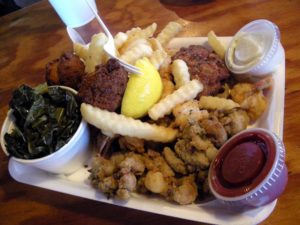
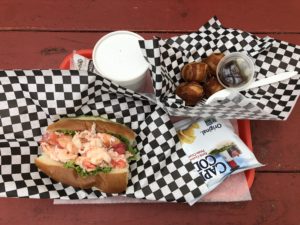
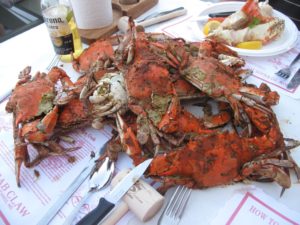
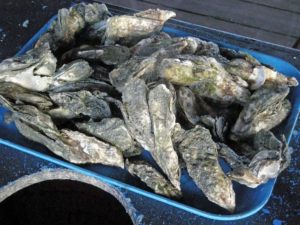
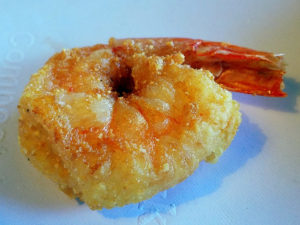
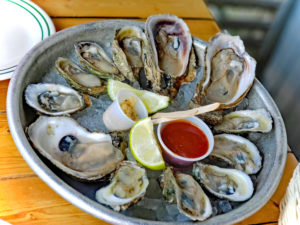
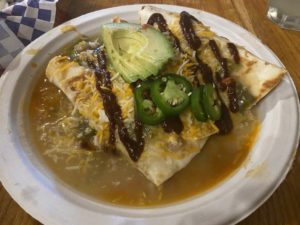
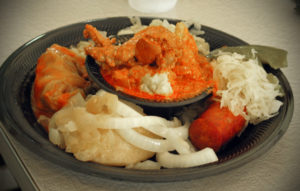
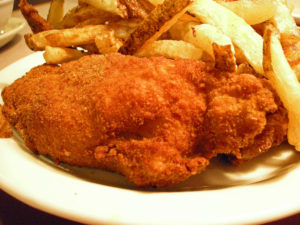
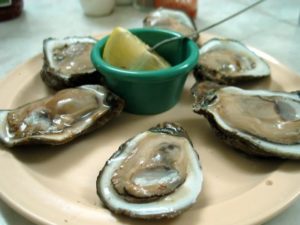
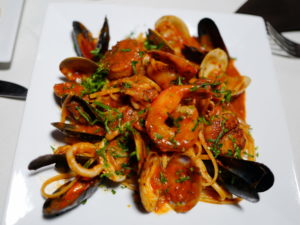
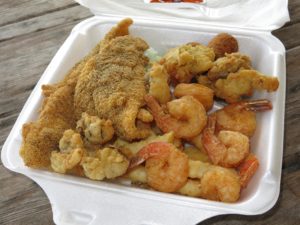
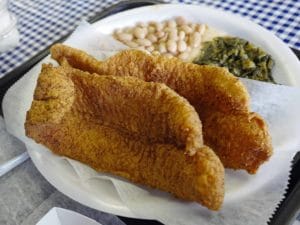
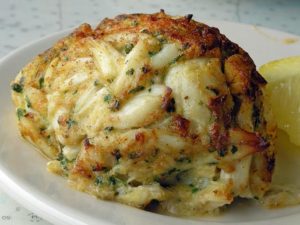
Seafood is a delicacy that has been enjoyed since the beginning of time Its flavors are unique...
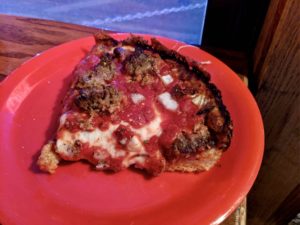
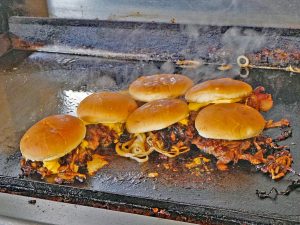
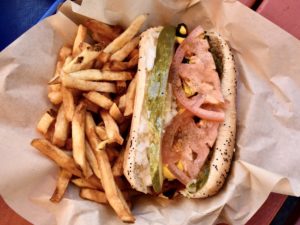
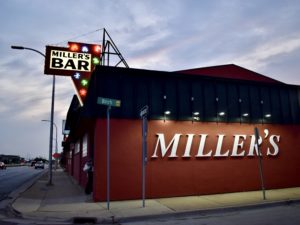
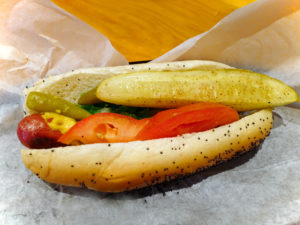
We have for you a list of some of the top eats on a budget when you are visiting Chicago, Il ...
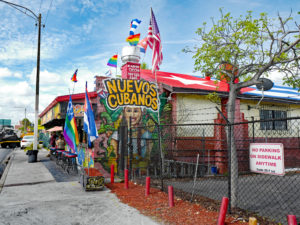
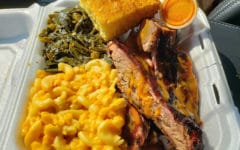
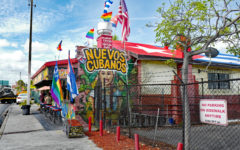
The Best Affordable Restaurants in Miami that Won't Break the Bank Miami is a city that's...
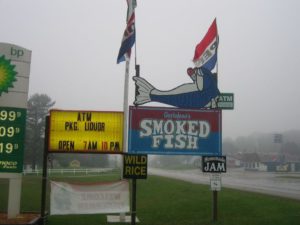
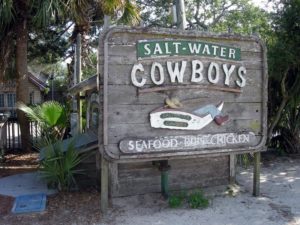
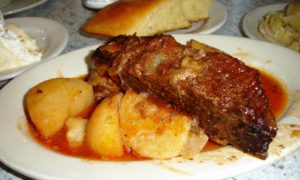
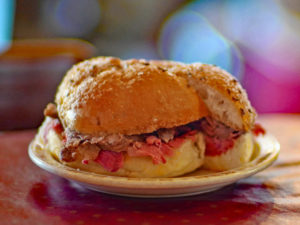
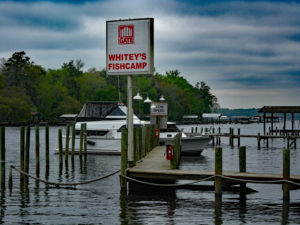
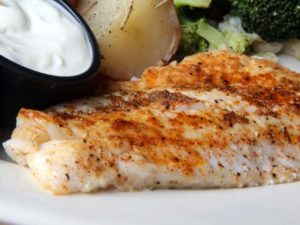
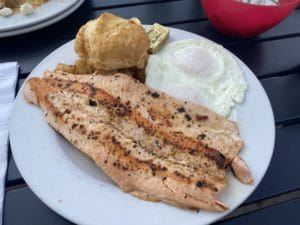
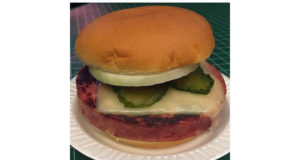
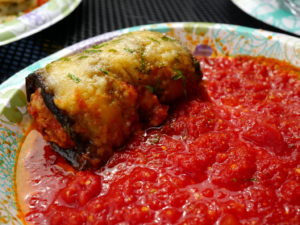
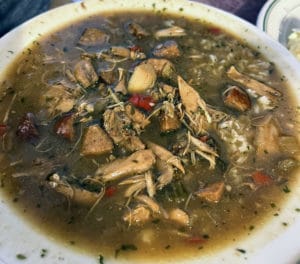
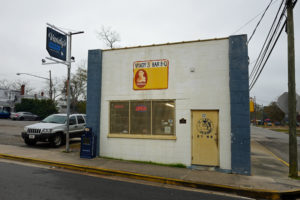
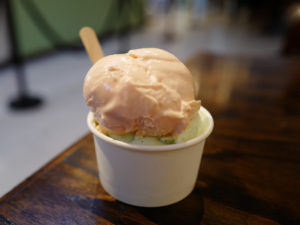
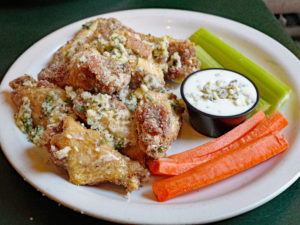
Florida's north coast is an eater's paradise, with fare both exotic and familiar The menu...
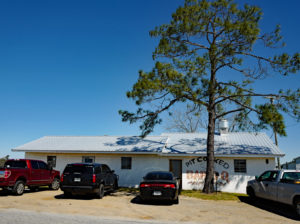
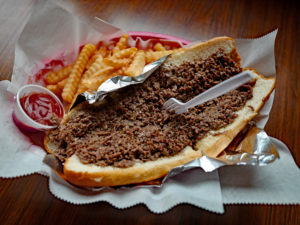
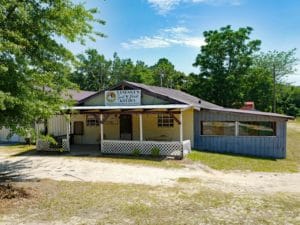
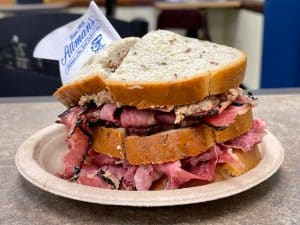
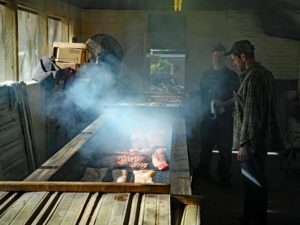
Road trip: Apalachicola, Florida to Mobile, Alabama Roadfood Adventures are not just quests...